
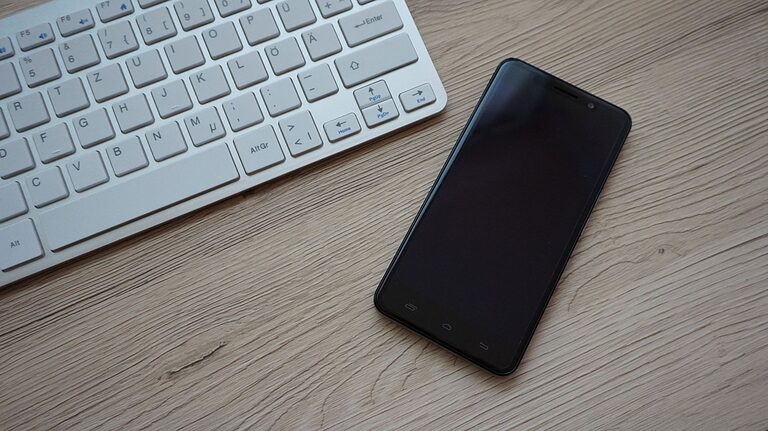
Keeping your phone and keyboard clean helps remove dust, fingerprints, crumbs, and everyday buildup. However, electronics can be damaged by excess moisture, harsh chemicals, and rough handling. The safest approach is to use small amounts of the right materials and avoid forcing liquid into openings.
This guide explains how to clean both devices carefully, including what to use, what to avoid, and how to handle ports, keys, screens, and accessories.
Before You Start
Before cleaning any electronic device, prepare a clear, dry workspace. Remove food, drinks, and other items from the area so nothing accidentally spills onto the device.
Gather these supplies:
– A clean microfiber cloth
– A soft, dry brush
– A few cotton swabs
– A small amount of water
– Isopropyl alcohol, if approved by the manufacturer
– A can of compressed air or a manual air blower
– A clean, dry towel
Avoid using paper towels, tissues, rough cloths, abrasive powders, bleach, window cleaner, ammonia, and other strong household products. These can leave fibers, scratch surfaces, or damage protective coatings.
Always check the cleaning instructions from your phone, keyboard, or accessory manufacturer. Product materials and finishes vary, so the manufacturer’s guidance should take priority.
How to Clean Your Phone
1. Power Down and Remove Accessories
Turn off your phone before cleaning. Disconnect the charging cable, headphones, and other accessories. Remove the phone case, wallet attachment, screen protector if it needs separate cleaning, and any other removable items.
Cleaning while the phone is connected to power increases the risk of damage if moisture reaches a port. Let the phone cool down if it feels warm from charging or heavy use.
2. Wipe the Case
Clean the phone case separately from the phone. Many silicone, plastic, and rubber cases can be wiped with a slightly damp microfiber cloth. For stubborn marks, place a small amount of mild soap on the damp cloth rather than applying it directly to the case.
Do not soak the case unless its instructions specifically allow washing. Dry it completely before putting it back on the phone. Pay attention to the edges, camera opening, buttons, and corners, where dust often collects.
Leather and fabric cases may require special care. Use only products recommended for those materials, and test any cleaner on a small, hidden area first.
3. Clean the Screen and Exterior
Use a dry microfiber cloth to remove loose dust and fingerprints. Wipe gently in straight lines or small, light circles. Applying heavy pressure can spread grit across the screen and may cause scratches.
If the screen still needs cleaning, lightly dampen one corner of the cloth with water. The cloth should be damp, not wet. Never spray water or cleaner directly onto the phone.
Some manufacturers allow a small amount of 70 percent isopropyl alcohol on a soft cloth for exterior surfaces. Use this only when the manufacturer’s instructions permit it. Avoid using alcohol on surfaces with special finishes unless approved, as repeated use may affect coatings.
Keep liquid away from:
– Charging ports
– Speakers and microphones
– Buttons and switches
– Camera openings
– SIM card trays
– Seams and gaps
After wiping, use a dry section of the cloth to remove any remaining moisture.
4. Clean the Camera Lenses
The camera lens cover can collect fingerprints that make photos look hazy. Use a clean, dry microfiber cloth and wipe gently. If needed, slightly dampen the cloth, but do not apply cleaner directly to the lens.
Avoid using rough fabric, tissues, or paper towels. Small particles trapped in these materials may scratch the lens cover.
5. Clear the Ports Carefully
Dust can collect inside charging ports and headphone jacks. Hold the phone with the opening facing downward and use a soft brush or a few gentle bursts from compressed air.
If using compressed air, keep the can upright, hold it at a safe distance, and use short bursts. Do not insert the nozzle into the port. Avoid sharp objects such as pins, needles, paper clips, or metal tools, which can damage internal contacts.
Never pour liquid into a port. If a port is wet, leave the phone disconnected and allow it to dry naturally according to the manufacturer’s instructions.
How to Clean Your Keyboard
1. Disconnect the Keyboard
Turn off and unplug a wired keyboard. For a wireless keyboard, switch it off and remove the batteries if the design allows. This prevents accidental key presses and reduces the risk of electrical damage.
If your keyboard is attached to a laptop, shut down the computer completely before cleaning. Do not rely only on sleep mode.
2. Remove Loose Dust and Crumbs
Turn the keyboard upside down and gently shake it over a clear surface. Do not hit or slap the keyboard, as force can damage switches and key mounts.
Use a soft brush to loosen dust between the keys. A manual air blower can also help. If using compressed air, keep the keyboard tilted and use short bursts from different angles. Keep the can upright and avoid spraying continuously.
A vacuum cleaner may create static electricity or pull loose keycaps from some keyboards. If you use one, choose a low-power setting with an attachment designed for delicate surfaces, and keep the nozzle from touching the keys.
3. Wipe the Keys and Frame
Dampen a microfiber cloth with water or an approved electronics cleaner. The cloth should never be wet enough to drip. Wipe the tops of the keys, the space bar, the palm rest, and the outer frame.
For areas around individual keys, use a barely damp cotton swab. Do not push moisture underneath the keys. If a key feels sticky, clean around it gradually rather than flooding the area with liquid.
For shared or frequently handled keyboards, manufacturer-approved disinfecting wipes may be suitable. Squeeze out excess liquid if the wipe is wet, and do not allow liquid to collect around the keys.
4. Remove Keycaps Only When Appropriate
Some mechanical keyboards have removable keycaps, but not every keyboard is designed for this. Laptop keys and many slim keyboards can be damaged when keycaps are pulled off.
If the manufacturer allows removal, take a photo first so you can return each key to the correct position. Use a proper keycap puller, clean the caps separately, and make sure everything is completely dry before reassembly.
Do not remove keys just to perform routine cleaning.
What to Avoid
For both phones and keyboards, avoid these common mistakes:
– Spraying cleaner directly onto the device
– Pouring or soaking any part of the device
– Using bleach, acetone, or abrasive cleaners
– Scrubbing with rough sponges or paper towels
– Using sharp tools to remove dirt
– Cleaning while the device is powered on or charging
– Reassembling accessories before they are fully dry
– Using heat from a hair dryer to speed up drying
If dirt is stuck in a narrow opening, stop rather than applying more force. A repair professional or the manufacturer may be able to help without causing additional damage.
How Often Should You Clean?
Lightly wipe your phone when fingerprints or visible dust appear. Clean the case separately as needed. A keyboard can usually benefit from a quick dusting every week or two, with a more detailed wipe when grime becomes noticeable.
Regular light cleaning is safer than occasional aggressive scrubbing. Use gentle tools, minimal moisture, and plenty of patience to keep your devices looking clean while protecting their sensitive parts.